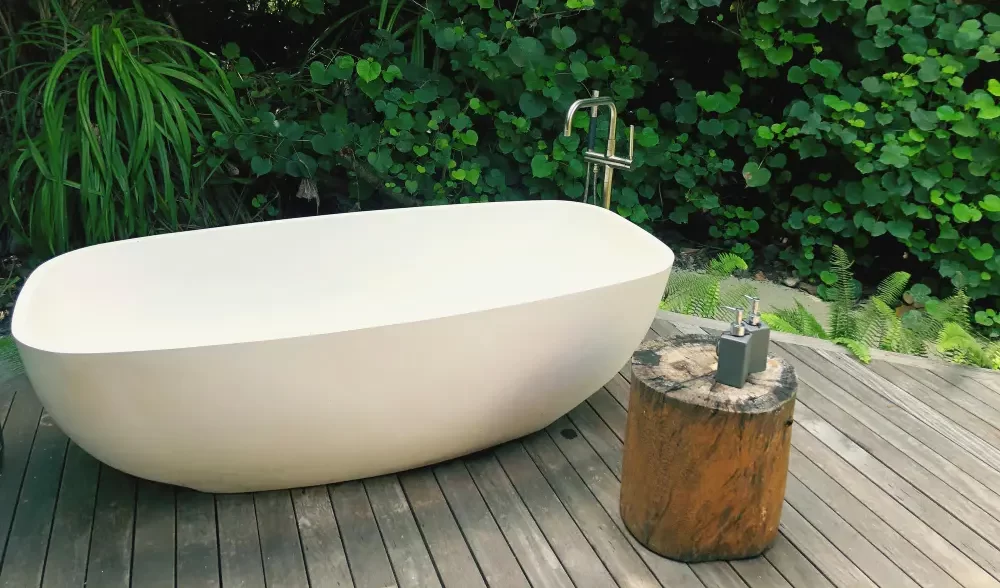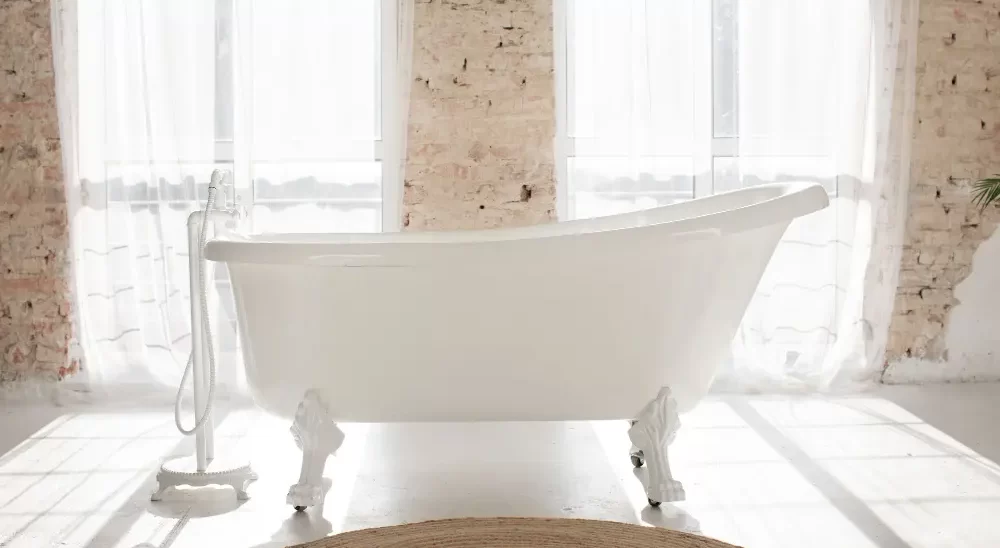
If you’ve settled on a freestanding tub for your bathroom remodel, you’ve picked one of the easiest tubs to install. The installation requires only a few tools and many of them come with the tub. Then, you just need to complete a few steps to connect it to your plumbing and secure it to your floor. However, you’ll need to prepare your bathroom for the remodel and ensure you have all legal matters in order.
In this blog, we’ll explore how to install a freestanding tub and test it to ensure it won’t leak.
Can You Install Your Own Freestanding Tub?
Technically, installing this type of tub is simple enough for you to do. Tubs often come with manuals and plumbing pieces. Plus, the process is generally the same even if you install freestanding bathtubs from different companies.
However, you may need a permit and license to install it. For instance, California building codes require a permit and a license for all plumbing work. This is to ensure that the plumbing remains in good condition and there are no mistakes that could affect the structural integrity of your home. Therefore, you should verify if your local codes allow installing your bathtub.
Even if you can’t complete this installation, you can still use this guide to help prepare for your bathroom remodel. By doing some of this labor, the plumbers will have less work to do, which may reduce the installation cost.
The Tools Required for a Freestanding Tub Installation
To install this bathtub, you should ensure you have these tools:
- Manual: Your tub may come with one. If so, you can reference it for guidance.
- Caulk: This adhesive will help you avoid leaks.
- Plumber’s Putty: With it, you can seal joints between plumbing pieces.
- Pipes: Usually, your tub will come with its set of pipes. However, you should still confirm that you have each piece listed in the manual.
- Blanket: You’ll need a blanket to protect the finish of the bathtub as you move it and lay it on its side.
- Rag: You’ll need some kind of cloth to mop up water spills, debris, and excess adhesive.
- Plastic Sheets: With these sheets, you can protect your floor from accidental damage.
- Pipe Wrench: To ensure a tight fit between plumbing pieces, you may require a wrench.
- Level: This tool helps you test the slope of your bathroom.
- Tape Measure: You’ll need to verify whether your bathtub fits through your doors and in your bathroom.
- Support: You may use 4 x 4 lumbar support or wooden shims to hold the tub off of the floor while you install it.
- Drop-in Drain: If your bathroom doesn’t have a drain, you’ll need to purchase one.
- Drain Kit: Generally, bathtubs come with their own set. If yours didn’t, you’ll need to purchase a compatible drain kit.
How to Prepare for a Freestanding Tub Installation

Once you have the tools required for this installation you can begin preparing yourself.
∴ Read the Manual
The first thing you should do to prepare for the installation is to read the manual. There, you’ll find the steps to install the tub, the tools you need, and the pieces it comes with. Whenever the installation guide differs from the manual, the tub company’s manual takes precedence.
∴ Test the Slope
After you’ve read the manual, you should test the slope of your bathroom with a level. Your tub will need a drain; those only work if you have a slope. Otherwise, water will pool, damage your floor, and your drain may cease functioning. If you note that the slope isn’t required, you’ll need to consult a plumber about your next steps.
∴ Check the Floor
Once you’ve confirmed you have the required slope, you should check that your floor is water-resistant and can support the weight of your tub. To verify this, you can ask the builders and owner/previous owner of the property. Alternatively, you can ask a professional for their opinion.
∴ Select the Tub Placement
Now that you’re sure your floor is suitable for your tub, you should decide where you want to install it. You can either opt to place it near plumbing or where you find it most aesthetically pleasing. However, choosing a placement with no nearby plumbing will require further investment since you’ll need a plumber to deviate some plumbing towards your tub.
∴ Clean the Drain
After you’ve decided where you’ll place the bathtub, you should clean the drain hole in the bathroom floor. To clean it, you can use a drain cleaner or bleach. Then, you’ll need to wait until it’s fully dry before you proceed with the installation.
∴ Clean the Floor
While you’re waiting for the drain to dry, you should clean the floor. In particular, the area where you’ll place the tub should have no dust, water, or debris.
∴ Place the Tub, Blanket, and Support
Finally, you can bring the tub in the bathroom. You should use a protective blanket to prevent damage to the tub. Next, you’ll set the tub down on top of lumber support or wooden shims. Then, you’ll lay the blanket next to the tub so you can use it to move the tub during the installation.
How to Install a Freestanding Tub
Now, you should be ready to install this tub. However, you may require support from someone to help maneuver the tub since they can be quite heavy.
Here’s how you can install this tub:
1. Align the Bathtub
Firstly, you’ll need to align the tub’s drain with the one on the floor. You can use a tape measure to calculate the distance from the nearest wall. Then, you should visually check their alignment.
2. Attach the Gasket
After you’ve ensured the drains are on top of one another, you should put silicone on the gasket piece from the tub’s plumbing package. Then, attach it to the underside of the tub, over the drain hole.
3. Attach the Tailpiece
Once you’ve attached the gasket, fit the drain tailpiece to it. To do so, you’ll first need to fit the bushings to the top of the tailpiece, which may require some plumber’s putty. Next, screw the drain nut tight with the use of a wrench if needed. Then, you should seal it all together.
4. Wait
Now that your drain’s connected, you should wait a day. After 24 hours, the sealant will have set.
5. Test the Tub
Finally, you should test whether the overflow hole and drain connection work. You should fill the bathtub past the overflow hole near the top. If it leaks, you should ask for a professional’s help. If not, you may proceed with securing the tub.
Securing Your Freestanding Tubs to the Floor
Once you’ve confirmed that the plumbing works correctly, you should follow these steps:
1. Clean the Floor
To begin securing your bathtub, you’ll need to clean the floor – especially beneath the tub.
2. Use Caulk
Once the floor is clean and dry, you should put caulk on the bottom edge of the tub. This is usually a silicon-based adhesive.
3. Place the Tub
After you’ve put the adhesive, remove the support from underneath the tub and place it on the floor. You may remove excess adhesive with a damp rag. Then, put silicone lubricant around the tub to prevent it from tilting to the side.
4. Test the Tub
Now that your tub is in place, you should wait a day for the adhesive which secures a freestanding tub to set, then you’ll test it again. There should be no water leak. If there is one, you should seek help.
Recap
Knowing how to install a freestanding tub is a simple process. However, you may require a plumber’s license and a building permit for this installation. Therefore, you should check your local codes ahead of installing it. Then, you just need to gather your tools, prepare the bathroom and install the tub.
The installation itself is only a few steps: connect the drain and seal the tub to the floor. However, you’ll need to wait a day and then test it a few times to ensure there’s no leak. After that, feel free to enjoy a relaxing soak.